
Similar to push-ups and pull-ups, sit-ups are one of those foundational exercises that all kids should learn. As a foundational exercise, sit-ups can practice throughout one’s lifetime and are great for a healthy strong core and the building of abdominal muscles.
To teach kids sit-ups you should know the proper setup, form, and ways to progress kids to their first full proper form sit-up. It’s very important to have strict proper form when doing sit-ups to prevent neck and back injuries. Read on to see how I taught my kids how to do proper sit-ups and what exercises they used to progress their sit-up skills and capabilities.
What muscles do sit-ups work?
Sit-ups are a great exercise for the core, hitting most of the core muscles with a heavy emphasis on the abdominal muscles. Other muscles worked include the lower back, hip flexors, obliques, chest, and neck.
How to do a proper form sit-up
I first learned sit-ups in elementary P.E. class. I don’t remember much from this time about technique other than you laid on your back and worked to an upright sitting position with legs bent. This continued even through high school with little actual education given on sit-up technique.
I first came to realize that there is proper form and technique when I joined the United States Army and found out that part of the Army Physical Fitness Test APFT was to do as many sit-ups as you can in 2 minutes. When going through the APFT sit-up test you had to abide by certain standards and had a spotter that would count proper form sit-ups and could disqualify you from the event if you did not have consistent good form or made a disqualifying movement. There are many ways to do a sit-up and many variations to teach my kids how to do a proper sit-up, I leaned heavily on the same standards that the Army used for sit-ups in the APFT.
How to set up for sit-ups
To start a sit-up you first assume the starting position which is lying flat on the floor on flat on your back. Next, bend your knees so your legs form a 90-degree angle. The feet may be together or up to 12 inches apart. Next, take your hands and interlace the fingers behind the back of the head. The back of both hands should be flat on the floor. The arms and elbows do not need to touch the floor but may if preferred. The last step I like to teach my kids is to curl their chin so that it is touching or nearly touching the top of their chest. One of the drawbacks of sit-ups with the fingers interlaced behind the head is the risk of pulling on the neck during the sit-up motion that can lead to injuries. I instruct my kids to keep the chin curled and to not put any force on the neck during sit-ups. The last setup step is to have another person hold the ankles of the person doing the sit-up with their hands only. Once the starting position is set, the exercise can then begin.
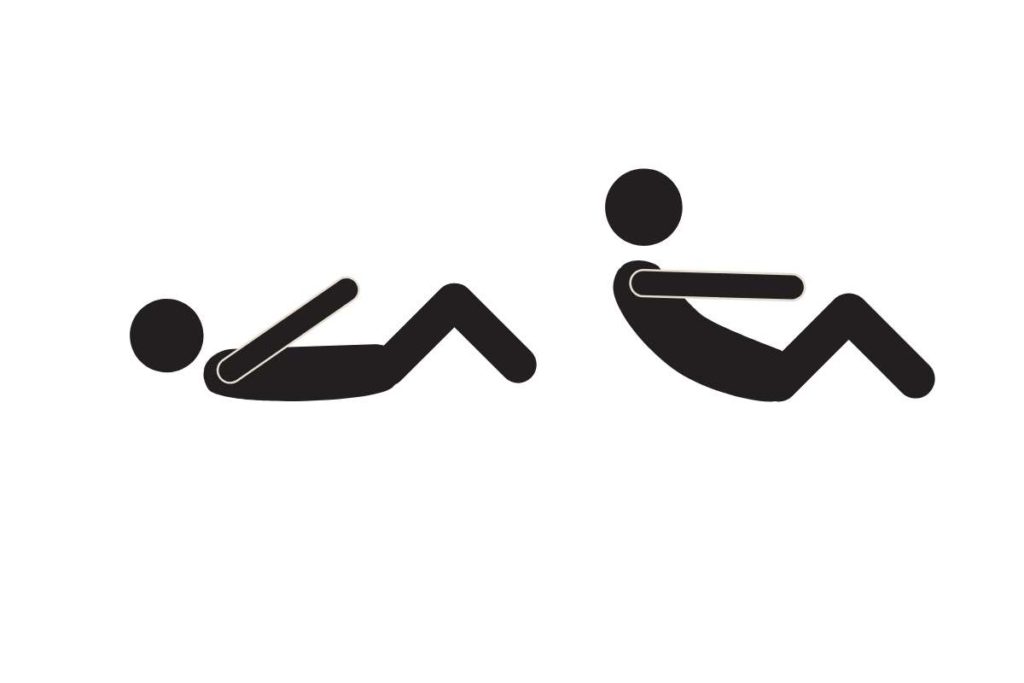
How to perform sit-ups
To perform a sit-up the student moves their upper body up and forward until they reach the vertical position or beyond. The vertical position is defined as a point where the base of the neck is equal to or beyond the base of the lower spine. After reaching the vertical position you then lower your upper body until the bottom of the shoulder blades touches the ground. The head, hands, arms, and elbow do not have to touch the ground before the next rep is started.
Additional coaching points for good form sit-ups

- The heel is the only part of the foot that must stay in contact with the floor. If any other part of the foot rises off the floor, the rep doesn’t count.
- If a mat is used the entire body must start and stay on the mat.
- Fingers must remain interlocked throughout the movement. Any degree of finger overlapping constitutes interlock.
- Arching and bowing of the back and raising the buttock off the floor is not good form.
- Resting is not allowed in the down position. Resting is ok in the vertical position.
- The use of hands or any other method to pull your upper body up is not allowed.
- Any momentum generated by extending the arms or legs is not allowed.
- In the vertical position, bracing with the elbows or other body parts to rest is not allowed.
How to develop sit-up strength in kids
Most kids are capable of a few sit-ups right out of the box, but depending on their core strength, might not be able to perform a sit-up with proper form. To develop the skill and strength to be able to perform a proper sit-up or increase sit-up capability, sit-up progression through variation is a great way to build up sit-up capability. Sit-up progression starts with the easiest variations and moves progressively to a harder version ending with a full proper sit-up. Sit-ups are a core builder and the progressions below can be mixed with other core strength exercises over a few weeks to quickly build core strength and the capability to do full sit-ups. Some other core strength exercises that will help develop sit-ups are planks, push-ups, knee raises, and bridges.
Progression 1 using hands to help pull yourself up and negative on the way down.
For the first progression, you use your hands to pull yourself up which makes the exercise much easier to do. Start by bracing your feet by having a partner either hold your ankles or sticking your feet under something like a couch or dumbbells. Next, assume the starting position but instead of interlacing the hands behind the head, grab the back of your legs. Use your arms to help pull yourself up to the vertical position. The real work with this progression comes from the down movement. On the way down try to go as slow as possible so that you are performing a negative rep.
Progression 2 use momentum to help pull yourself up and negative on the way down.
Again with this progress have your feet braced and assume the starting position. The difference with this progression is to straighten out your arms over your head with the arms resting on the ground. To perform the set-up generate momentum by swinging your arms up towards your legs to propel your upper body into the starting position. Once in the vertical position perform a negative rep by slowly lowering your body back to the starting position.
Progression 3 Arm progression to get closer to the interlacing of the fingers
Once the student is capable of easily completing reps of the first two progressions they can then start to move their arms in front of their body. The first progression is to wrap the arms around the waist in the starting position. The leverage of the arms assists the sit-up movement. The next arm progression is to cross the arms and grasp the shoulders. This gives a little less leverage than around the waist. Once the student can comfortably perform sit-ups with arms crossed they should be able to perform a proper form full sit-up.
Once my kids learned proper form they are capable of performing a good set of 10. We normally have one conditioning day a week where sets of sit-ups are included in other exercises like push-ups, dips, and pull-ups. We also incorporate sit-ups in most of our warm-up routines.
Related Questions
What is the difference between a crunch and a sit-up?
The difference between a crunch and sit-up is how far you travel towards the legs. With a crunch, the abdominal muscles are the focus as the upper body only comes up slightly to about 30 degrees. Sit-ups engage more overall muscles as the range is longer, but there is more pressure to the spine which can lead to injury if not performed correctly.
What are other versions of sit-ups?
There are many alternative versions of sit-ups that can be used to develop additional core strength. Here are a few examples:
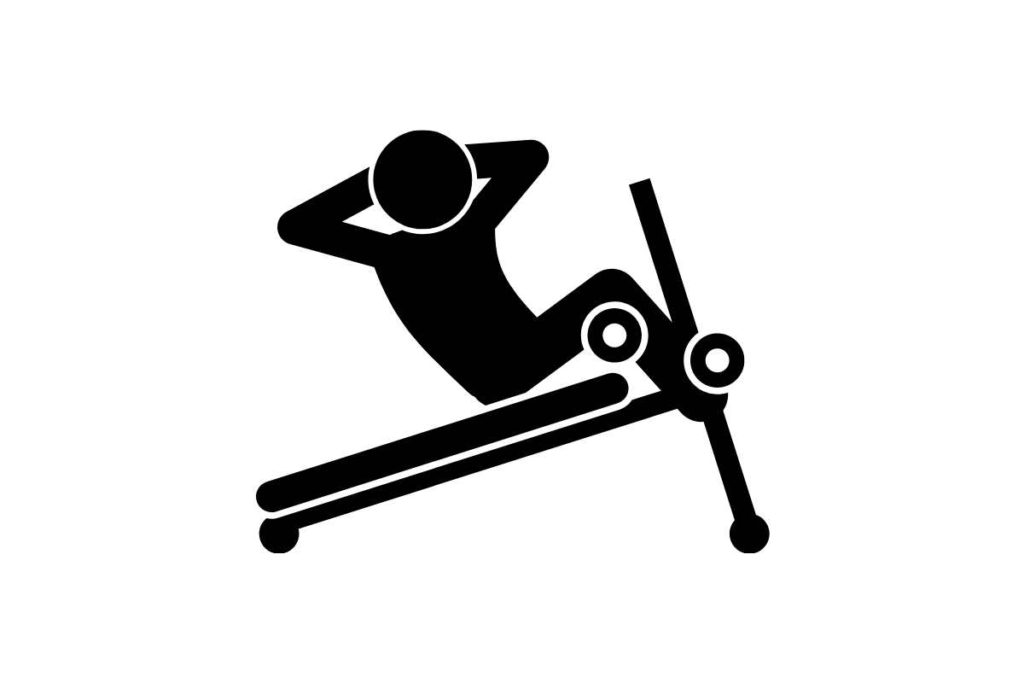
- Decline sit-ups: Lie on a bench that has a position where the upper body is lower than the knees. This starting position makes the sit-up much harder.
- Weighted sit-ups: Weights are used to increase the resistance during the sit-up. Weight plates, vests, and gloves can be used.
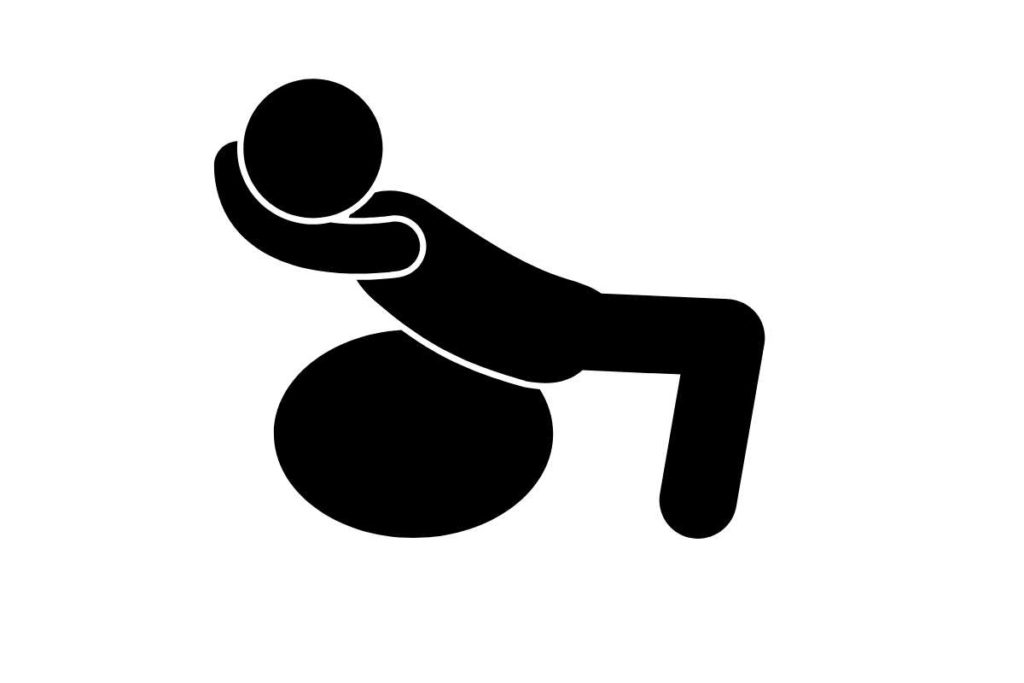
- Exercise ball sit-ups and crunches: An exercise ball is used with the starting position being the back on the ball. The ball helps develop balance and also helps isolate the core.
- Rotating sit-ups: To engage the obliques more a twist is added to the sit-up where on the way up one elbow touches the opposite knee.
- Various leg positions: The legs can be moved in a different plane to achieve various isolation of core muscles. Two common positions are knees bent and legs straight in the air.