Throughout my life thus far I’ve always had an affinity towards martial arts. Along the way, I’ve had the pleasure of studying boxing, judo, kickboxing, muay thai, wrestling, jiu-jitsu, karate, and even a couple of kung fu classes. One thing I’ve learned across these disciplines is that it is essential to know how to properly strike, especially to punch. The ability to know how to properly punch is an effective tool in one’s self-defense toolbox that can be deployed when necessary. A properly practiced punch can be devastating while protecting the thrower from injury. In addition to self-defense, the ability to properly throw strikes can be a wonderful workout. I regularly include heavy bag sessions in my weekly workouts and find them great for cardio and mentally satisfying.
The knowledge and practice of throwing a proper punch is something I wanted my kids to know and I see it as a fundamental skill in their ability to protect themselves and others from harm. To teach my kids from zero how to punch, I started by teaching the proper way to make a fist, stance, arm position, how to throw the punch, and where to make the impact on the hand.
In this article, I focus on how I taught my kids how to throw a proper punch from the ground up. There are many ways to throw a punch from many different martial art disciplines. To teach my kids I used a blend of my personal experience with self-defense, boxing, karate, and muay Thai to influence my methods.
Self-defense and punching
Before even beginning teaching my kids how to punch, I sat them down and had a conversation with them about violence. I set the expectation with them that violence is bad and striking another person is in most circumstances the last option to be used to either stop violence or prevent it from happening. I let them know that it should only be used in the self-defense of themselves or helpless victims of violence. I made sure they understood this principle and got their verbal commitment to the self-defense principle before proceeding with striking education.
How to make a proper fist for a punch
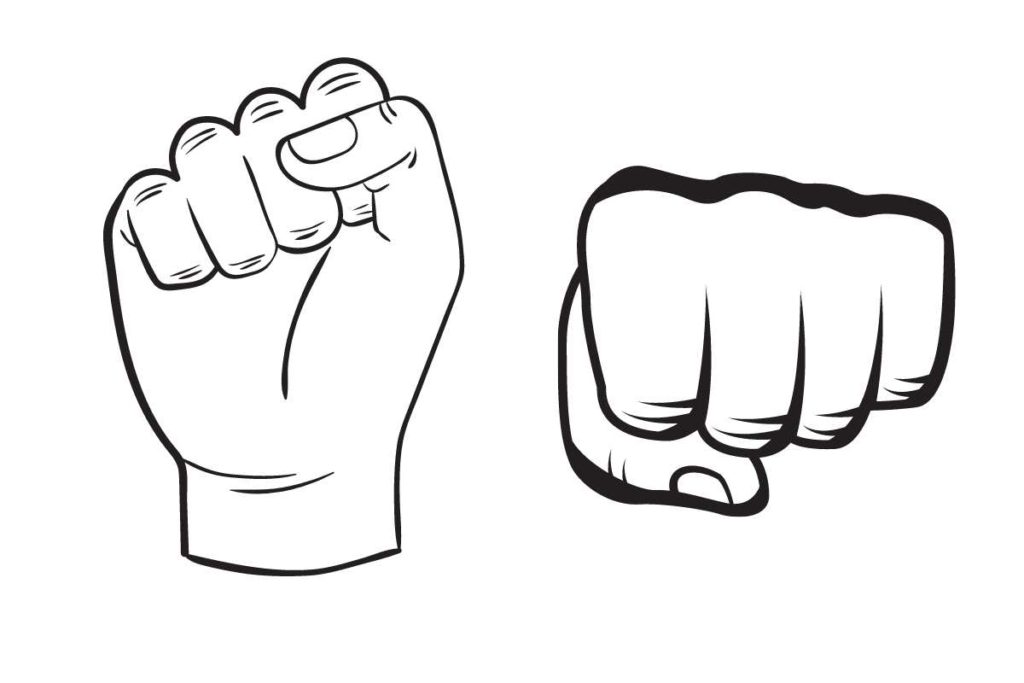
A proper fist is important for throwing punches. An improper fist can lead to an ineffective strike and worse an injury to your hand or wrist. To make a proper fist begin with an open palm hand and curl the fingers minus the thump into the palm so that the knuckles are exposed. Next, take your thumb and wrap it behind your first 2-3 fingers depending on the length of your thumb. Lastly, tighten your fist so it is tight but not so tight that your hand begins to fatigue. Make sure to be cognizant of a firm wrist too, if your wrist is loose it is another weak point in a punch that can be injured if it is floppy when throwing a punch. You now have a proper fist ready for strikes.
There are a couple of things to look out for when making a fist. One major thing to avoid is to wrap your fingers around your thumb. When you throw a punch the force can travel through the fingers and hand and compress the thumb enough to potentially dislocate it. You also want to make sure to wrap the thumb over the fingers and not leave it hanging out like a boxing glove. If it’s left hanging you run the risk of catching it on something and again dislocating or breaking it.
What part of the hand to punch with
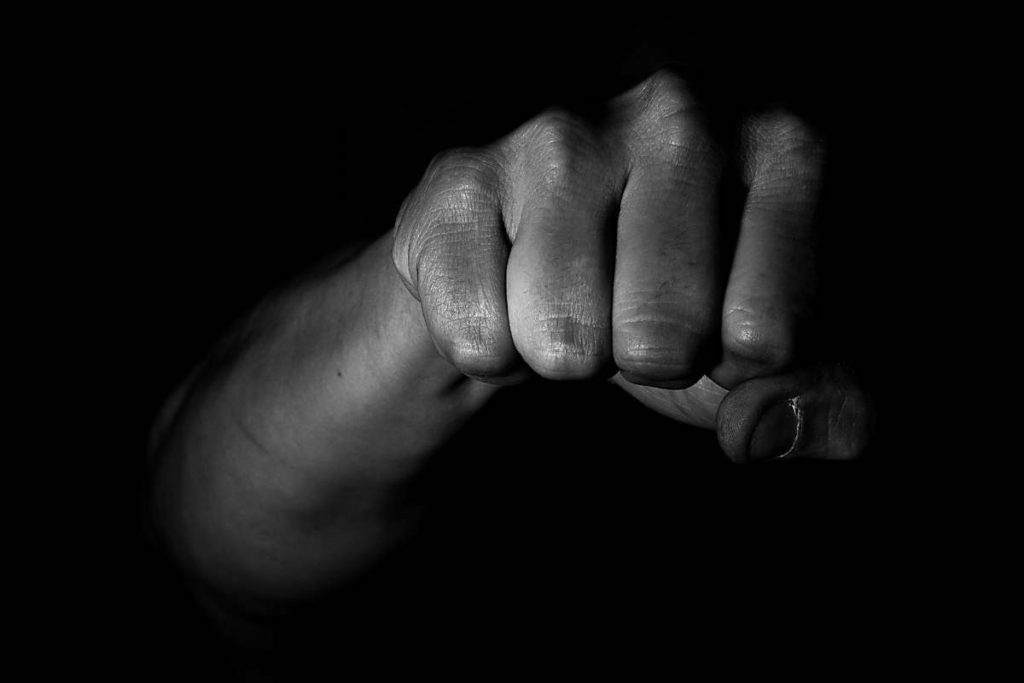
When throwing a punch the arms, shoulders, and backfire out the fist with the knuckles leading towards the target. At the point of impact, you want the two biggest and strongest knuckles making the most impact. To point this out to my kids I showed them my fist and asked them which part of the hand should hit first and with the visual in front of their face they instantly choose the knuckles of the index and middle fingers. Make it a point for them to consciously think about making an impact with the two big knuckles. When my kids first started practicing and hitting the heavy bag there were a few punches impacted with the fingers instead of the knuckles which was easily corrected through quick coaching reminders.
Beginners stance for punching
For just starting out with punching I first taught my kids the square stance. The square stance is standing with feet in line a little wider than should width. Starting with a square stance instead of a lead foot allows the students to focus more on the punch rather than a type of punch or what to do with the feet which comes later.
I have my kids stand with their feet shoulder-width apart and their hands up above their shoulders with elbows bent. I then say fingers which is their command to curl their fingers into their palms. My next command is “Thumbs” which cues them to wrap their thumbs around their fingers. The next command is “Cheeks” which is the instruction to rotate their hands inwards toward the face so that their fingers are resting on their cheeks. They should also be tucking their elbows into the body to defend against body shots. The next command is “Knees” which is their cue to slightly bend their knees. The final command is “chin” which is to remind them to slightly tuck their chin towards their body and focus their eyes in front of them on the target.
Once the students are in their square stances and ready to punch you can the opportunity to coach and correct. First look for proper positioning of the hands and arms. You can make some light open hand checks to ensure their hands are high enough to block headshots and their elbows are in a good position to block body shots. Look for a tucked chin and focus of the eyes in front of them. Also, check for balance by lightly pushing on their shoulders. The students should be grounded and tight with very little movement when pushed.
Practicing first punches by punching in the air
Once your kids get the square stance down, it’s time to practice throwing their first punches. I start by slowly demonstrating how to throw the first punch. I get in position by going through each command as outlined above then explain the mechanics of throwing the first punch. The first step is to focus the eyes on the target aiming for exactly where you want to impact. I explain that the punch should be fired off the body or the lats engaging the core, shoulders, and arms. The fist should fire out like a piston from the body. As the arm extends, the fist and forearm should rotate to expose the knuckles. Make it a point to remind them of the two big knuckles being the part of the hand to make impact. Also, reinforce that the punch should be fired directly out of the body, and for this type of punch, they shouldn’t flare out their elbows or cock their hand back. Returning the hand to the body is a simple reverse of the punch movement bringing the fist, arm, and elbow back to the starting position. It’s good to remind them not to leave the arm hanging out after the punch and returning the punch to the body in the same line as it was thrown.
Once you’ve demonstrated how to throw a punch it’s time for them to practice their first punches. For this, we practice throwing punches in the air. I first guide them through the stance commands and then count for each time I want them to throw a punch in the air. Start slow with your count and gradually move towards a regular cadence with each punch hand rotating with every count. As you are counting observe the punches and correct form and position as needed.
Punching the Heavy Bag
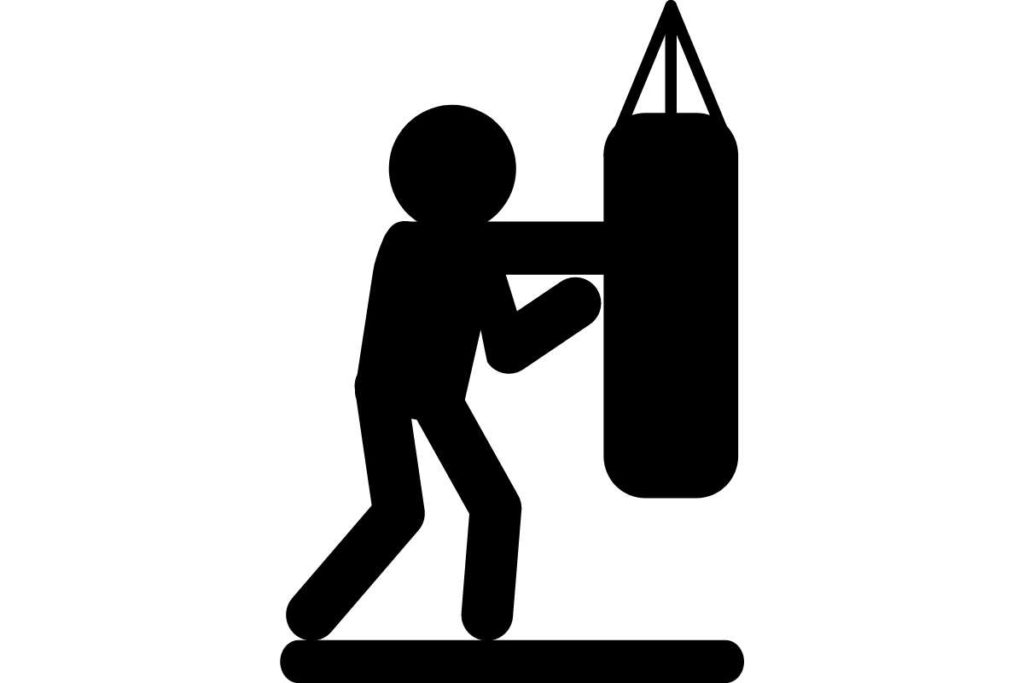
Once your kids have a good handle on making a proper tight fist, stance, arm position, and throwing punches in the air the next step is to strike something. We like to practice on a Muay Thai heavy bag. Muay Thai heavy bags are longer and slimmer than typical boxing heavy bags and are excellent for throwing low kicks in addition to other strikes on it. Our heavy bag is set up in our unfinished basement and is mounted to a board that spans between two-floor joists.
To begin I first start by quizzing my kids on what part of the hand should impact the bag first, which is the two big knuckles. I show them the impact by slowly throwing a punch on the bag emphasizing the two big knuckles making contact first. I also remind them to not punch with the fingers and to keep a tight wrist that doesn’t bend when punching. This is an important reminder so wrists don’t get injured.
I then demonstrate how to practice punching the bag. I start with the cues to get in the starting position fingers, thumbs, cheeks, knees, and chin. From there punches happen with each count of a number 1, 2, 3 . . . Again, do this slowly at first showing proper form in firing out each punch, rotating the hand and forearm, and impacting the bag with the two big knuckles. Towards the end of the demonstration pick up the pace and the impact of the punches to show an ideal future state of strong proper form punches.
Now it’s time for the kids to practice. Have them stand a little less than arm width from the bag and if you have multiple kids you can have one on each side. Then go through the commands fingers, thumbs, cheeks, knees, and chins. Take the time to again correct stance and posture and when ready begin a slow count having them practice their punches and switching each hand with every count. Take the time between each count to coach any pointers you catch with form. Be on the lookout for improper stance, punching with the fingers, cocking the arm back, and leaving the punch-out too long.
The type of punching is an excellent stamina work out on the bag. Firing one punch after the other in rapid hard succession builds strength in stamina in the arms and shoulders. This practice helps make the punching motion a regular motion that the body can get used to performing easily on demand. In no time my kids were able to do sets of 50 then 100 reps. To continually train this you can do multiple sets or do them for time.
Next steps in learning punch progression
Learning to punch properly and the use of the square stance is just the beginning of learning striking skills and provides a solid foundation for things to come including fighting out of a lead, learning to block and parry, moving around, learning the different punches, and then you can start all over again by learning kicks. The next thing I like to teach my kids is the orthodox stance and how to fight with a lead foot (most often) the hand you are not dominant in leading. From there I teach the big three boxing punches the jab, cross, and hook from the lead foot. Next, we learn how to move around with a lead foot stance. And then comes even more fun, learning to throw kicks and beginning kickboxing. Follow along on the website to learn more about these topics in future articles.
Related Questions
Why should you fight out of a lead orthodox stance?
The orthodox stance is one where your dominant side is behind your non-dominant side. Meaning if you are right-handed your left foot would be in front of the right foot making your left side and fist in front of the right side. Having an orthodox stance favors the stronger side allowing you to set up the power punches like the cross and hook to come with more force from the backside. The opposite stance with the non-dominant hand in the back is called the Southpaw stance.
What are some of the other types of strikes outside of a closed fist punch?
Many types of strikes can be used instead of a closed fist. There are countless variants many of which can be found in karate and other martial arts. Here are a few of my favorites that can be effective tools in self-defense situations.
Palm strikes: With a typical palm strike the first two joints of all the fingers are tightly curled in including the thumb and the wrist is rolled back tightly. An effective way to throw the strike is upward towards a target. This strike can be devastating when making contact with the nose of an opponent. It can be also thrown like a hook making for a devastating slap.
Ridge Hand Strike: This is an open hand strike. To set the hand up for this strike extend the four-finger out and straight. The thumb then bends into the palm. The strike is thrown similar to a hook with the point of impact being the base of the index finger. The strike is usually used for striking the neck and higher in addition to the side of the abdomen.
Knife hand strike: similar to the ridge hand set up, but instead of bending the thumb into the palm, I like to bend on the first knuckle of the thumb. I also like to have a slight bend in the other fingers. For this, the impact is made on the pinkie side of the palm. The strike can be thrown in a downward chopping motion or straight out like moving from chest to throat area.
Fingers forward eye strike: In a life and death personal defense situation this is a strike that has the potential to greatly impair your attacker or give a window for follow-up strikes. For this strike place the palms outward and bend the fingers and thumb like you are trying to grasp a ball too big for your grip. The strike is then thrown out towards and attacker’s face with the intent of gouging eyes or at the least scratching the face. Again, in a life or death situation, the eyes are one part of the body that an attacker can not train to be stronger. Solid eye contact can immediately stop an attack or impair an attack enough for you to get away or follow up with other strikes.