
Pushups are one of the best exercises for developing the upper body and overall physical strength. Push-ups work most of the upper body muscle with a heavy focus on triceps, shoulders, chest, and upper back muscles. Not only do pushups work those specific muscles, but a properly executed push-up will also engage the entire upper body core and strengthen it over time and practice. Push-ups can be one of the best first exercises for kids to learn and can be a foundational strength exercise throughout their entire life.
Teaching kids push-ups is not difficult but can present challenges depending on the base strength of the child and their ability to initially maintain proper form. In addition to teaching proper form, most children when first introduced to the pushup will need to develop their strength before a full proper pushup is performed. Teaching kids push-ups will boil down to teaching the details of proper form and then helping them develop strength over time through pushup progression exercises.
Push-ups are one of the most widely known, accepted, and practiced strength exercises from children through adults. Teaching and having your kids practice proper push-ups can lead to a lifetime benefit for them. Read on to explore how I taught my kids the push-up and how they started with the inability to perform 1 proper push-up to know being able to do multiple reps with ease.
How to perform a push-up with proper form
Incredibly I was never taught proper push-up form until I was 18 and enlisted in the Army. Throughout my childhood, I did push-ups on occasion mostly while on sports teams and in school P.E., but I was never given the exact set of steps or instructions on how to do push-ups. In terms of proper form, I subscribe to the Army Physical Fitness Test (APFT) standards. The APT standard provides for a well-disciplined strict controlled push-up. Here are the standards to complete a proper Army push-up.
Setting up for a push-up
- Assume the front leaning rest or a plank position.
- Hands should be placed where comfortable, usually slightly wider than shoulder-width apart and slightly in front of the shoulders.
- Feet can be placed together or up to 12 inches wide.
- Your body should form a straight line from the shoulders to the ankles.
Performing the push-up
- The push-up starts by bending the elbows and lowering the body as a single unit.
- Lower the body until the arms are at least parallel to the ground.
- Once reaching a point where arms are at least parallel to the ground return to the starting position by moving your body up as a single unit until the arms are at the locked-out position.
Additional push-up points
- A true push-up is not counted if the body is not moving in a straight line, arms do not get parallel to the ground going down, or if the arms do not reach lockout in the up position.
- When testing for max push-ups you may alter the front leaning rest position. Accepted front leaning rest position can be sagging in the middle of the back or flexing the back. In the altered positions, you may not touch the ground with your knees or support the majority of your weight with your legs when flexing.
- Resting on the ground or raising any hands or feet off the ground constitutes termination of the push-up test.
- The APFT push-up test length is for maximum reps in two minutes.
How to teach kids pushups with progression
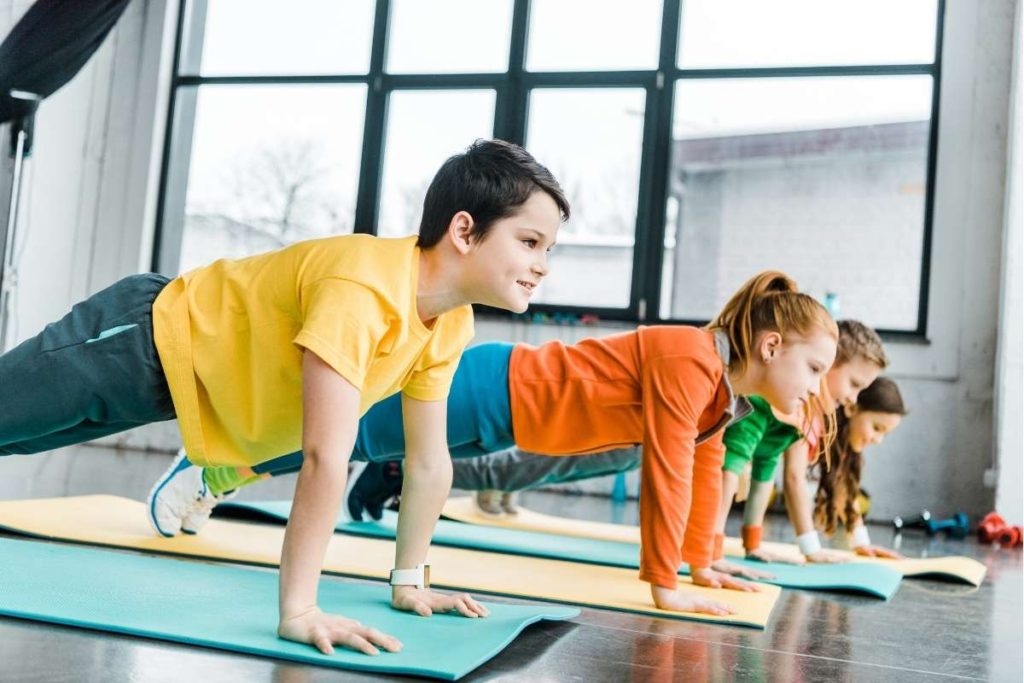
When I first started having my kids work on push-ups they were ages 7 and 9 and didn’t have enough strength to fully complete a proper form push-up. They could successfully execute planks but had trouble with moving down to parallel without hitting the ground. To build their push-up capability we needed to work on their strength. To increase strength went through a progression from timed planks to modified push-up until they were able to perform full-fledged push-ups.
How to teach kids the plank
I like to start with planks. Most kids have the natural ability to assume the plank and hold it for at least a few seconds. The first step is to demo the plank for your kids. Start in tabletop and explain the width of hand placement, where to put hands in relation to the shoulders, where to put feet, and how far to space the feet. While demoing the plank, explain that they should maintain a straight line and tighten their core to both strengthen the core and assist during the push-up motion.
First, have your kids start in a typical tabletop position with their knees on the ground, hands a little more than shoulder-width apart and slightly above their shoulders. Next, have your kids push out their feet so they are behind them either together or up to 12 inches apart. At this point, you will want to correct any deficiencies in the posture. Remember to always use positive reinforcement and call out as many positive things you can that you see. Great hand placement, nice straight body line, and then go into any corrective actions in the posture.
Practicing the plank will help strengthen your kids’ core and will help them to get to a full push-up if they are unable to come out of the gate able to do a pushup. You can do plank holds in sets anywhere from 30-60 seconds and longer as their strength improves. If you are coaching multiple kids you can even play games to see who can plank the longest.
Once the general plank is learned you can start to incorporate variations of the plank to mix it up. If you have a child that needs to start with an easier variation you can have them go through all of the initial setups, but instead of putting the feet back, the plank can be held with the knees on the ground. This version makes it easier to hold as more of the child’s weight is supported by the legs. Remember to coach the kid to keep a straight body line from knees to shoulders when planking from the knees.
Another alternative plank is to have the feet back, but rest the upper body on the forearms and elbows. This is a great plank for developing core strength. In this position, you can tuck the pelvis in and feel the contraction of the core muscles. Another thing you can add for extra vigor is to conduct the plank march. The plank march involves starting on the forearms and then straightening one arm out at a time until you are in the locked out full plank position then lowering yourself back down one arm at a time until you back in the forearm resting plank position.
When starting your kids out with pushups it’s a good idea to establish a baseline. Once you kids have mastered the plank technique you can time them to see how long they can hold the plank in good form. As your child progresses you can test every two weeks or so to see what progress they’ve made.
How to develop pushup strength in kids
Once your kids have mastered the plank position it’s time to move on to the movement part of the push-up. This is the part that most kids will struggle with if it is their first time doing push-ups. On the downward movement kids often struggle with supporting their weight by either not going low enough or collapsing to the ground at the bottom of the movement. On the way up you will often see the breaking of the straight line between shoulders and ankles as the body bends downward or arches up on the way up to the plank. To rectify both these issues, a child must get stronger again through progression. To progress alternative push-up exercises can be worked in with plank work to help develop a child’s strength towards the full normal push-up.
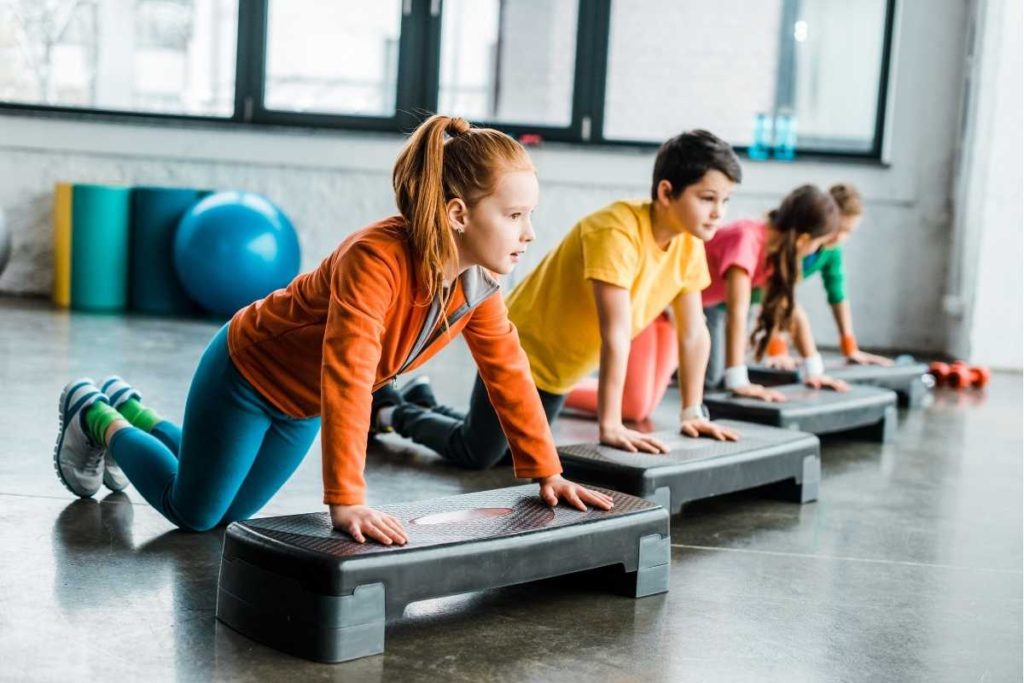
Progressing to the ground push-up

An easy way to start building strength for push-ups is to have your kids start standing and perform push-ups on a wall. For this starting exercise have your kids place their hands on a wall in a normal push-up position and have them place their feet a few steps back. Then have them lower themselves to the wall and back up to the locked out position. This is a much easier push-up as the majority of the weight is held by the legs. To progress the farther the legs go out the harder the exercise gets. Once ready you can begin to move lower by using a weight bench, couch, or chair to perform the push-up. Once your child can perform push-ups at the level of a standard bench height with feet on the floor, you can move to the floor. To make push-ups even harder you can start to get the hands below the feet by elevating the feet and keeping the hands on the floor. Simply elevate the feet by placing them on a bench or chair, keep the hands on the floor, and do push-ups for reps.
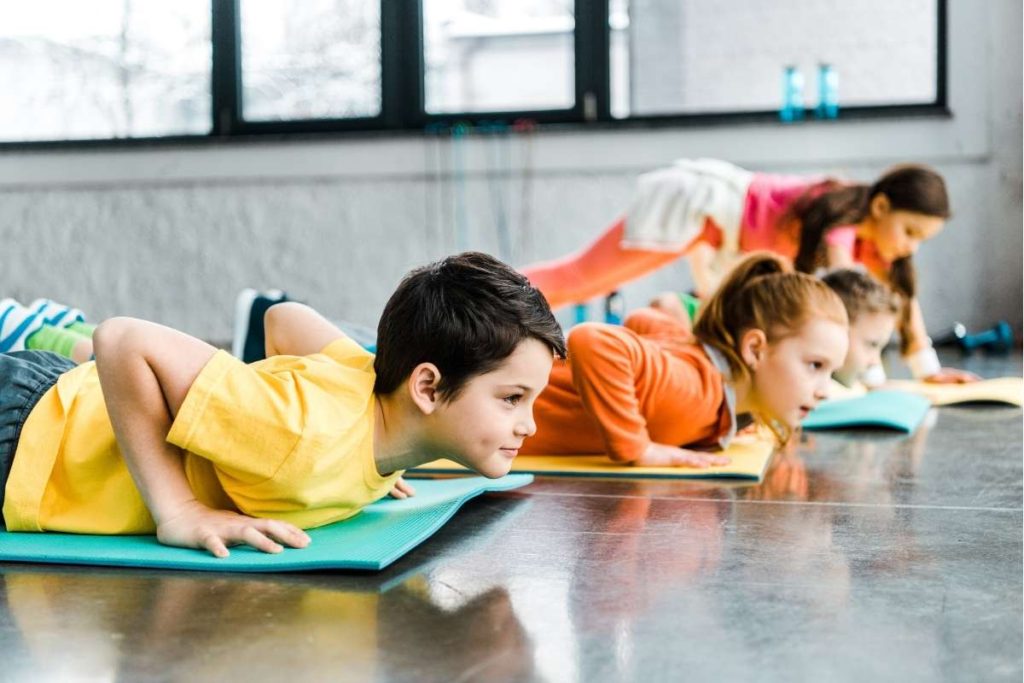
How to do negative push-ups
Negative push-ups are great for developing strength and getting the body used to the downward movement of the pushup. Start in the regular push-up start position or the knees down plank if necessary. To perform a negative, the child lowers their body to the ground as slow as possible focusing much effort on the lowest third of the movement. Once the body is resting on the ground the legs can be used by going to the tabletop position and resetting for the next rep. To make the negative push-up challenging, you can count back from 10 or 5 as you go down with the negative.
How to do hands off the ground push-ups
Opposite the negative push-up, you can work on the up movement of the push-up by doing hands off the ground push-ups. For this exercise, you start in the rest position on the ground and lift your hands off the ground, place them back on the ground, and push up until your hands are locked out. This is another exercise where if needed you can start with your knees on the ground to make it easier. Once in the locked out position reset the position by dropping the knees to the ground and resetting in the resting ground position.
How to put negative and hands off the ground push-ups together
Once your child has learned negatives and hands off the ground you can put the two push-up progressions together for an effective way to build to the normal full push-up. Start in the plank position and perform the negative moving to where they are resting on the ground. Once fully on the ground have them raise their hands off the ground completely and push back to locking position and continue for reps.
Coaching cues to use to help kids learn push-ups
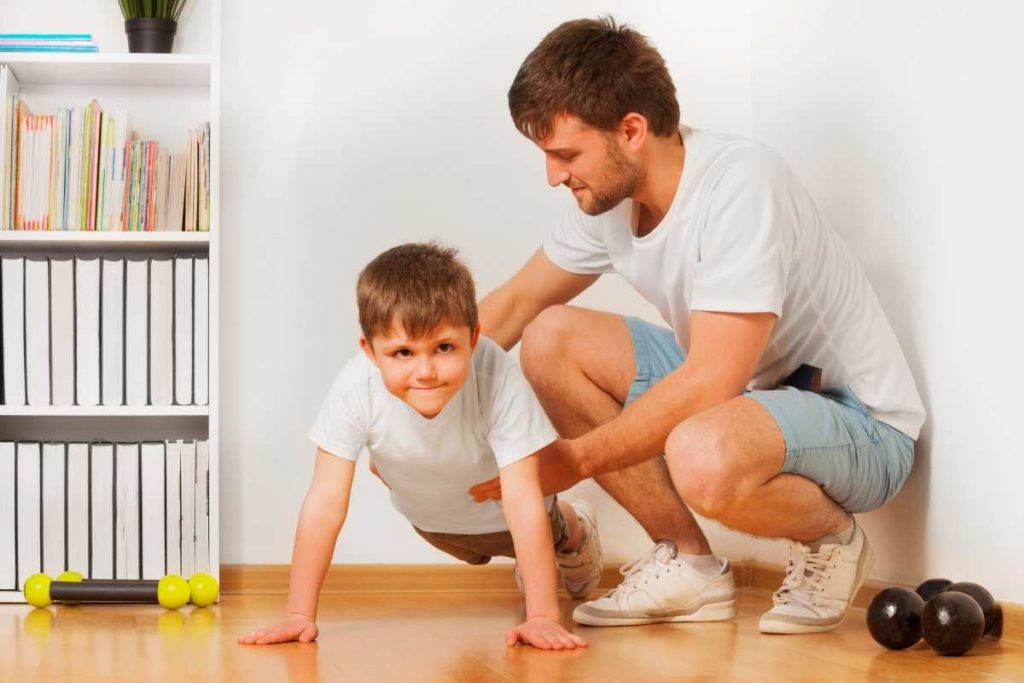
While coaching your kids through push-up progressions remember to always point out the positive in their efforts and positions. When your child does something correct you want to reinforce the behavior and there is no better way than through positive reinforcement. Make sure to have a high ratio of positive to negative feedback when coaching and you will find a positive environment where you kids want to learn and progress. If you need to coach to correct, make it straight to the point and fact-based as much as you can. Once you’ve taught your kids the correct way to start and perform the push-up it’s good to move into the coach role with cues where a simple statement made triggers a correction movement during the push-up. Here are a few that I like to use with my kids:
- When pushing up from the down position you will often find that kids will either sag in the middle or arch the back upwards. We like to call these positions spaghetti noodle and teepee. When positions are not straight I simply call out spaghetti noodle or teepee and they will almost immediately work to correct their position.
- Another common deficiency is not going low enough during the push-up. To coach this I like to say the word “parallel” to cue them to make sure they are going to point where the arms are at least parallel to the ground.
- Another important process in push-ups is to maintain a tight core throughout the movement. To trigger this I simply say core before we start our push-up reps.
How to get the push-up reps in while having fun
One of the most timeless past times is to challenge your friends or siblings to a push-up competition. Push-competitions are a great way to both have fun and get extra reps in. A simple competition is to see who can plank the longest. Another is to see who can outlast the other with the most pushups. Put the competitors in the plank position facing each other. One person does a push-up and then the other person has to answer with a push-up of their own. This goes on until one person falls out.
One of my kids’ favorite push-up games is the bring sally up push-up challenge. This is a music-inspired fitness challenge. The song is from Moby and has many repetitions of the phrase “green sally up and green sally down.” You play the song and anytime they hear down you push down and stay down. When the participants hear up, they push up and stay up. The song goes for quite a while and has many reps. If a participant hits the ground or rests they are out.
Once your kids’ strength grows and they can perform a true strict form push-up it’s a life skill that will serve them well throughout their entire life. Push-ups can be done at any time and anywhere and are one of the foundational exercises that everybody should know and practice.